


How to Crimp Electrical Terminals the Right Way: Clean Work, Tight Connections, and Less Heat Risk

Crimping terminals is one of the most common tasks in electrical work—and also one of the most critical. A crimp that is loose, mismatched, or inconsistent can lead to voltage drop, unstable contact, overheating, and failures in real systems.
This guide is written electrician-to-electrician: simple, practical steps that help you deliver consistent, professional-looking terminations and reduce unnecessary rework.
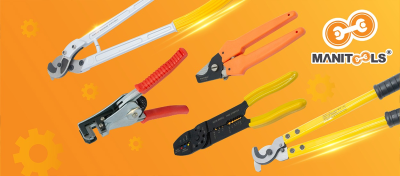
1) Choose the Right Terminal for the Job (Before You Touch the Crimper)
A perfect crimp starts with the correct connector.
What to check:
- Terminal type: ring, fork, spade, quick disconnect, ferrule, etc.
- Wire size: match the terminal’s mm²/AWG range
- Environment: vibration, heat, moisture—use connectors suitable for the conditions
Pro tip: For stranded wire going into screw terminals, ferrules often improve consistency, reduce strand break-out, and help achieve a cleaner, more stable termination.
2) Strip Length Matters: “Just Right” Makes the Difference
Strip too short and the conductor won’t seat fully. Strip too long and copper may be exposed—raising safety and reliability concerns.
A good rule:
- Strip so the conductor seats fully inside the barrel
- Avoid exposed copper beyond what’s necessary
- Avoid nicking the conductor—damaged strands weaken the cable and reduce long-term reliability
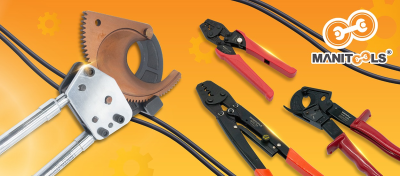
3) Match the Crimp Die to the Terminal Type (Not Just “It Fits”)
Many crimp failures come from using the wrong die profile.
Your die must match:
- Terminal type (insulated / non-insulated / ferrule)
- Wire size range
- Crimp profile (different terminals require different crimp shapes)
Remember: “Fits” doesn’t mean “correct.” A wrong die can feel tight at first, but it often loosens under load and generates heat over time.
4) A Simple Technique for Consistent Crimps
- Insert the wire fully into the barrel
- Hold the terminal steady and align it correctly in the die
- Crimp cleanly—avoid random double-crimping that distorts the barrel
- If using a ratcheting crimper, complete the full cycle for consistent force
If you crimp often: A quality crimper that delivers consistent force reduces rework and improves professional consistency across your jobs.
5) Post-Crimp Checks: Two Steps Professionals Don’t Skip
(1) Pull Test
Apply a controlled pull to confirm the wire doesn’t slip or move in the barrel.
(2) Visual Check
- Is the barrel crushed incorrectly?
- Is the conductor fully seated?
- Is copper exposed more than necessary?
- Is the insulation damaged (for insulated terminals)?
6) Why Connections Overheat—and How to Prevent It
Most overheating comes from high resistance due to poor contact.
Common causes:
- Loose or incorrect crimp (wrong die / wrong terminal size)
- Incorrect strip length (not seated fully / excess exposed copper)
- Stranded wire under screw terminals without ferrules (strands spread out)
- Terminal screw not tightened appropriately
Electrician’s fix: Choose correctly, crimp correctly, and verify—prevent the problem at the source.
Crimping may look like a small step, but it has a major impact on safety and reliability. Choose the right terminal, strip to the right length, use the correct die profile, and verify with a pull test and visual check. Do it consistently and you’ll produce tight, clean connections that reduce overheating risk and reflect true professional workmanship.
#Manitools Your Trust Tools.
By CMS
18 Views
Recent View News
Electrician's Tool Buying Checklist: Smart Tips Before You Pay


FAQ